

What’s the easiest way to caulk at shower?
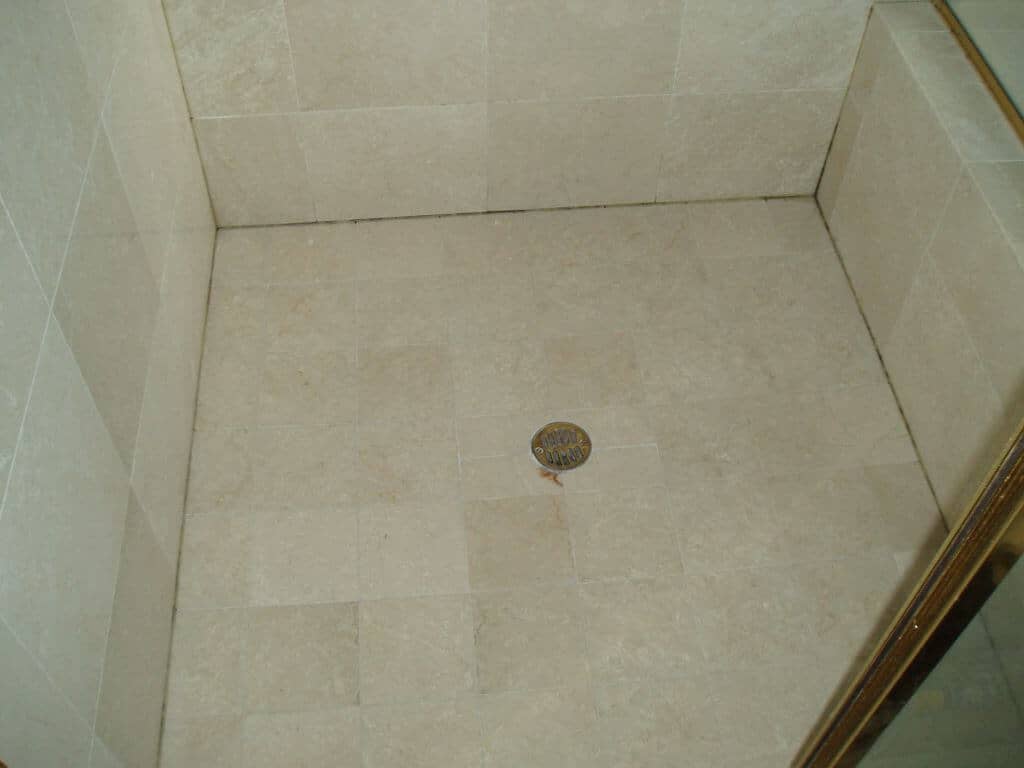
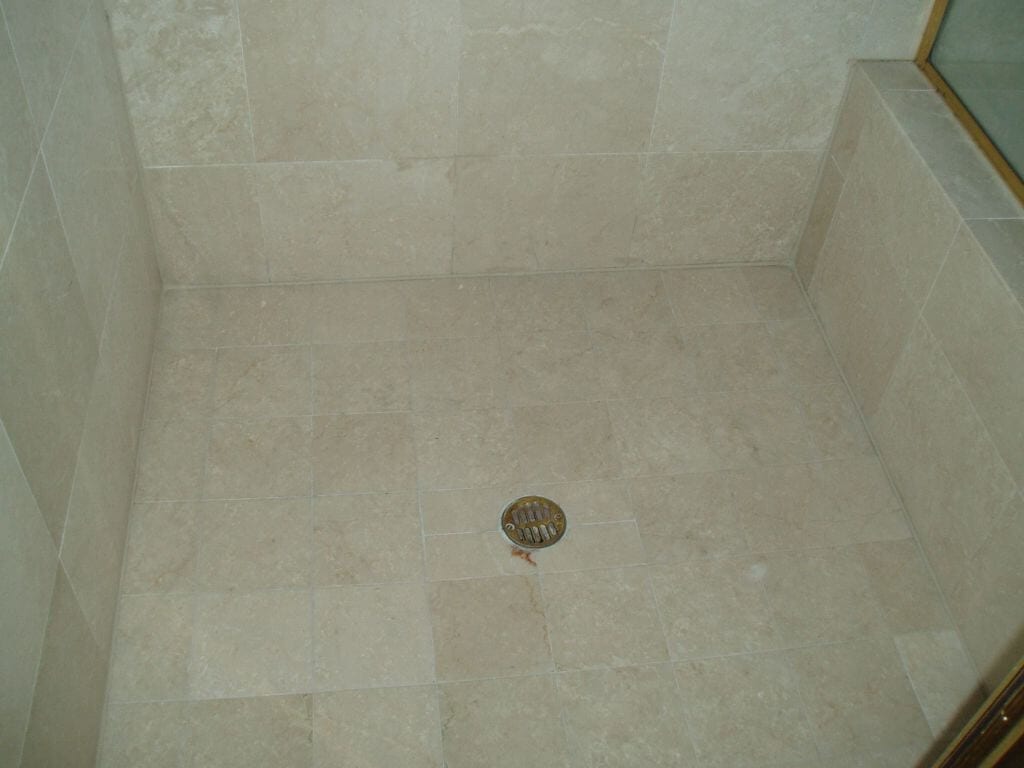
Caulking a shower is something that not only protects the shower pan mortar bed, but also makes the difference between a good-looking and unsightly shower. Many people clean their showers religiously but are frustrated because the caulking at the corners of the shower gets dirty, moldy or simply deteriorates.
Fixing caulking can be a challenge. It’s one of those jobs that require few tools and a lot of elbow grease. You’ll need to get into the shower, get on your knees and get to work.
After the shower is properly cleaned, it should be allowed to dry thoroughly. Appleby uses high velocity fans to aid in this process.
Next is where the elbow grease comes in–you must remove the old caulking. You can use a scraping tool, a screwdriver and/or a razorblade to get the old caulking out. It’s important that you have a clean, residue-free surface to work with.
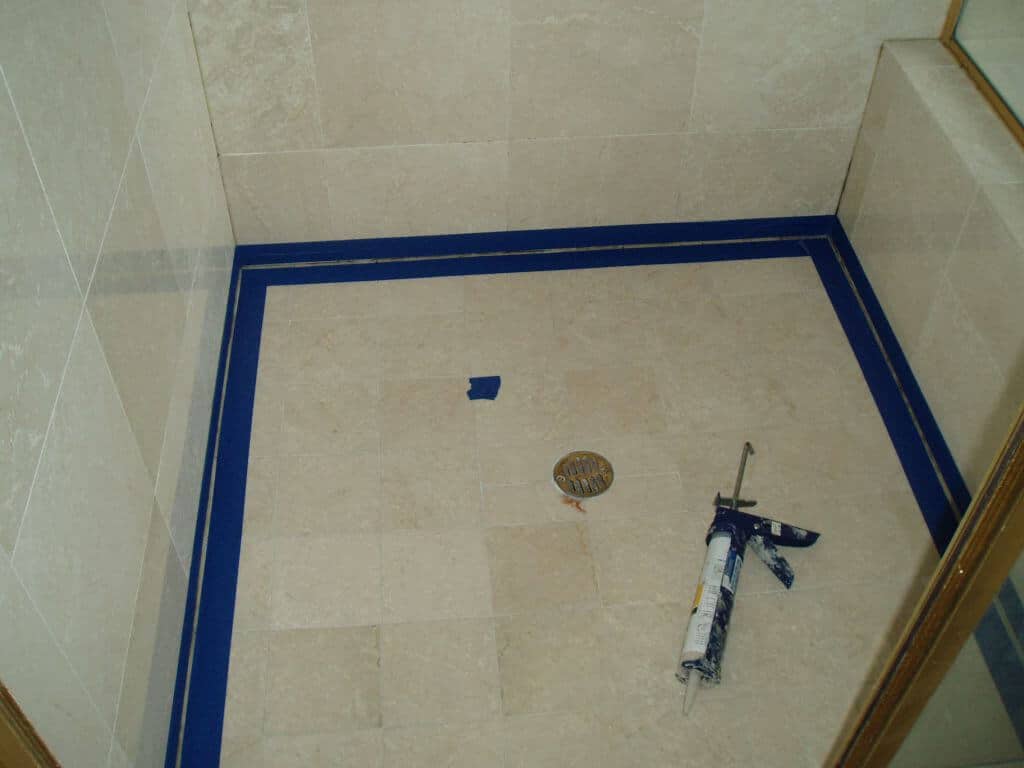
There are many techniques for laying a proper caulking bead, and the above method is one of the most consistent. Tape the pan first, leaving an 1/8” gap from the vertical surface of the shower walls. Next, tape the wall, leaving the same width gap. Use a caulking gun to at a 45 degree angle, squeeze a 3/16” bead of caulking into the corner of the pan to wall junction. You can use acrylic or silicone—acrylic tends to come in more colors and is easier to clean up. Silicone will last longer but will often show mold more.
Use your finger or a caulking tool to press the caulking into the corners, making sure to keep even pressure on the caulking and attempting to keep a smooth, even finish.
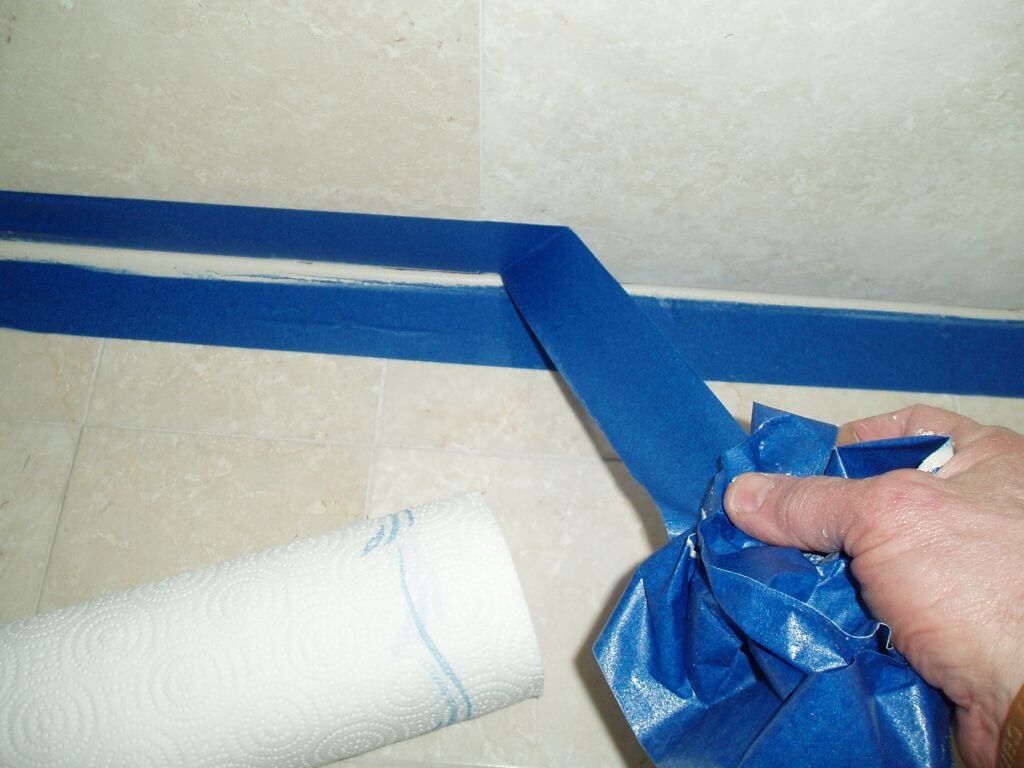
Have an opened plastic bag ready, and remove the tape carefully. Dispose of tape into plastic bag. Appleby recommends not using the shower area for a minimum of 24 hours.
Occasionally, caulking needs to be replaced.
Now you can perform this task yourself, or call Appleby Cleaning and Restoration for more information.

